
SumitechProvide customers with precision parts
Focus on precision parts processing and production
Order Hotline:+86 13418256345

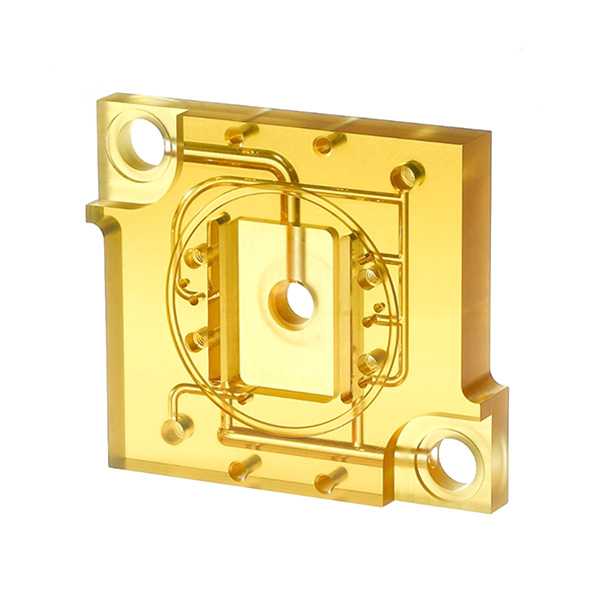
Detailed analysis of Processing methods and Techniques for Mold Parts
The processing methods and techniques of mold parts are the knowledge we bring to you today. Many people do not know how mold parts are processed. They are mainly processed by methods such as washing and cutting, grinding and planing. Let's take a look below.
Processing methods for mold parts
1. Washing and turning processing: Mainly involves milling a plane with a milling cutter
2. Grinding processing: It mainly involves grinding the surface of the workpiece with a grinding wheel.
3. Planing processing: It mainly involves planing the surface of the workpiece with a planing tool.
4. Special processing: It is a method of processing that directly utilizes electrical energy, chemical energy, etc.
5. Numerical Control machining: It mainly controls the machine tool through digital information to generate the required relative motion between the workpiece and the cutting tool, thereby achieving the processing of the workpiece.
Mold parts processing technology
The geometric shape accuracy of the journal (roundness, cylindricity) should generally be limited within the diameter tolerance point range. When high precision is required for geometric shapes, the allowable tolerances can be separately specified on the part drawing.
2. Surface roughness can vary depending on the different working parts on the surface of the components. For instance, the surface roughness of the supporting journal of a common machine tool spindle is Ra0.160.63um, while that of the mating journal is Ra0.632.5um. As the machine's operating speed increases and its precision improves, The surface roughness value requirements for shaft parts will also become smaller and smaller
3. Dimensional accuracy: The journal is the main surface of shaft parts, which affects the rotational accuracy and working condition of the shaft. The straightness accuracy of the journal is usually IT69 according to its usage requirements, and precision journals can reach IT5.
4. Positional accuracy mainly refers to the coaxiality of the mating journal of the assembled transmission component relative to the supporting journal of the assembled bearing, which is usually expressed by the radial circular runout of the mating journal to the supporting journal. According to the usage requirements, it is stipulated that the high-precision shaft is 0.0010.005mm, while the general precision shaft is 0.010.03mm. In addition, there are requirements for the coaxiality of the inner and outer cylindrical surfaces and the perpendicularity of the axial positioning end face to the axis centerline, etc.
About Sumitech
CompanyapplicationCertificate environmentcontactProduct
Five axis machining part High precision partsCNC lathe partsMedical device partsOther industriesNews
Company Industry problem+86-134-1825-6345Monday to Saturday 8:30-20:00
(welcome to inquire)
Sumitech precision machinery technology (Dongguan) Co., Ltd © Copyright【ADMIN】【Back to top】